Preparing for waterproofing
The first step was to jackhammer up along the walls to create trenches and channels

High Water Table
The trenches and channels immediately filled up with water, highlighting the need for the system.

Installing Wall Vapor Barrier
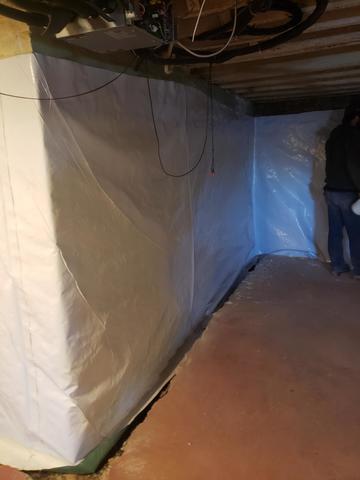
Jonny and his crew installing the vapor barrier waterproofing along one of the walls. Any water seeping through the walls would be directed behind this barrier and into water channels at the bottom. Eventually this leads to a sump pump.

Wall Waterproofing
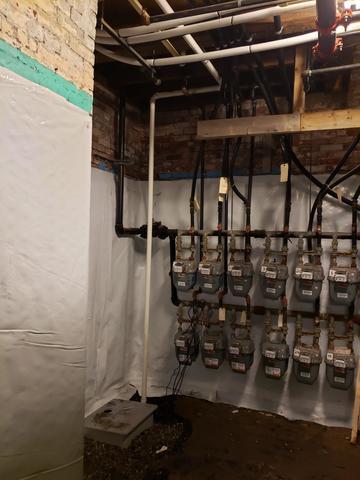
More of the wall vapor barrier product installed. These walls will eventually be framed to conceal the products and the space will become several apartments.

Wall Barrier and Sump Pump
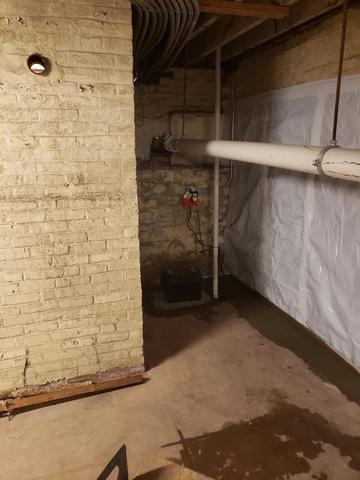
View of the sump pump system installed within the floor. A new concrete slab will eventually be poured in this space to seal in the bottom of the vapor barrier. The top of the sump pump will also be flush with the new floor.

Vapor Barrier and Sump Pump View
The Sump Pump pumps the water up and out of the basement area.

New Concrete
A new layer of concrete is placed around the sump pump system and along the bottom of the vapor barrier to seal the system and contain the water and moisture.

Vapor Barrier and Water Guard Installed
View of the system after new concrete is poured over the water guard and vapor barrier along the bottom of the wall. Eventually this will all be covered up with finished framing and new floors to complete the living space.

Sump Pump with Battery Backup
Sump pump system with a battery backup tucked into one of the corners in the basement.

