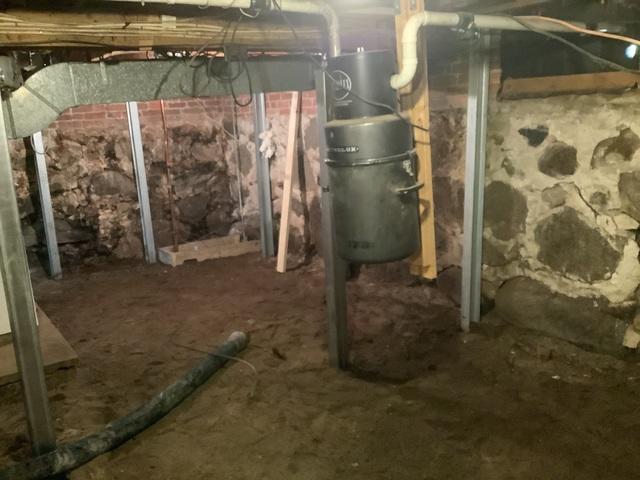
Before Auxiliary Walls
This is what the foundation looked like before the Auxiliary wall was installed.

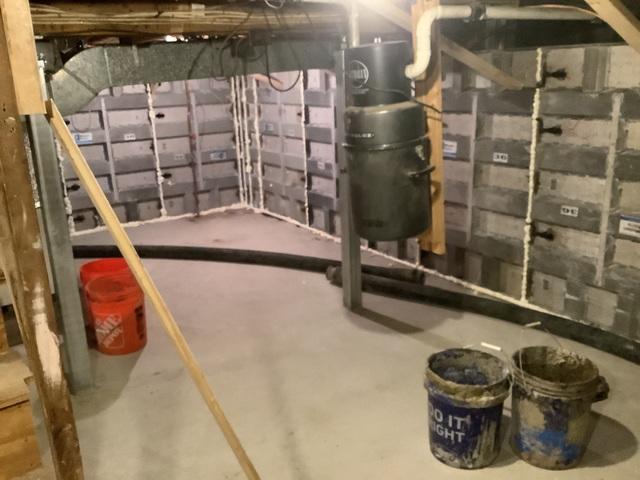
Before Auxiliary Walls 2
Another view of what the foundation wall looked like before the Auxiliary wall was installed.

First Step to Installing the Auxiliary Wall
The first step to setting up the Auxiliary wall is to set up the Power Brace to set up and hold the wall in place.

Second Step
After putting in the power brace the next step is to install some rebar.

Third Step
The third step is to set up the temporary wall so the crew can pour the concrete between the temporary wall and the foundation wall.

Final Step
The final step is removing the temporary wall after the concrete was poured and cured.

